Move WordPress Website to a New Host With No Downtime
Last modified: June 18, 2026

WordPress can be very easy to use even for non savvy users. Most hosts have 1 click installs and the CMS itself makes it very easy for non developers to create new content, change layouts, add functionality with plugins and more. With that said, WordPress is still an open source CMS and being such, sometimes you have the need for a bit more complex (or seeming complex) actions. If you are a part of any WordPress Facebook groups or WordPress related forums, you’ve probably seen this question come up a whole lot.
How do I Migrate my WordPress Website with no Downtime?
Well, this tutorial is exactly for people that are not savvy enough to figure out how to do it on their own. The truth is, it’s really simple to migrate a WordPress site once you know what you are doing.
Uploading a Local WordPress Website to a Server
If you are a bit more savvy and have already built a WordPress website locally on XAMPP or WAMP for example, this tutorial will work for you too. Uploading an existing local WordPress site and moving a WordPress site to a new host works the same. The only difference is where the files exist – on your computer or on a web host.
* This button will show the rest of the post and open up an offer from a vendor
1. First of All - Find a Good Wordpress Hosting Company
Finding the right hosting company can be a real hassle, it’s important you choose a hosting company that you can grow your website with. Some parameters should be:
- Great customer service (phone, chat, email)
- Speed
- Familiarity with WordPress
- And most important – recommendations.
You can read our Shared Hosting recommendations and make a firm choice. One recommendation we always give and has never failed is BLUEHOST. Bluehost is not only recommended by WordPress itself, but their hosting is REALLY CHEAP!
When the hosting company asks you what domain you are going to host with them, make sure to add your current domain name. This is crucial for success.
Once you signed up for a hosting plan there are a few things you will need. Open up a notepad file and save the following information:
- Host IP
- Username
- Password
- Cpanel URL
- Cpanel Username
- Cpanel Password
- Nameservers
In most cases the regular username & password will be the same as the Cpanel ones but if they are not, you’ll need both.
2. Access your new "Fake" Domain - The Hosts file
Since we have a live website on another host that we want to transfer, we need to access our new host without ruining our first site. The way we do that is altering our computer’s “Hosts” file which essentially enables you to access any address on the web and telling your computer what IP to look for when accessing it.
Open the Hosts File (Windows)
- Hit the Windows key
- Type “Notepad” in the search area
- Right click “Notepad” and choose “Run as administrator”
- Within Notepad, click “File -> Open file”
- Open: c:WindowsSystem32Driversetchosts
Take your server IP that you got when you signed up to your host. Paste this into the file:
123.45.678.901 yoursite.com
Note that the IP has to be the IP your server is on, and the domain needs to be exchanged with yours (don’t add http/s).
Now if you navigate to “yoursite.com” you should be accessing your new host and not where your actual domain is.
(When you finish, erase the line we added, that way you see what everyone else sees)
3. Create a Database for Wordpress
- Log in to your Cpanel
- Before we transfer anything to our new host, we need to be sure everything is ready. We need to create a database so WordPress has somewhere to store it’s previous database. Depending on your Cpanel version, you should look for a
mySQLormySQLwizard button. It might look something like this: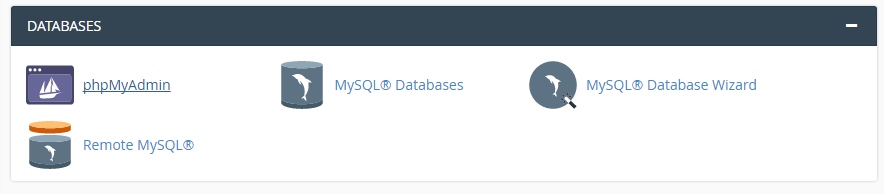
- Click the Wizard button
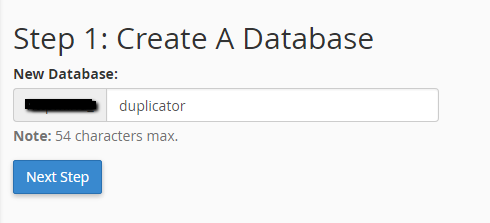
- Add a database name and click “Next Step”
- Create a database user. Add a username and generate a password. Save this information in your notepad file.
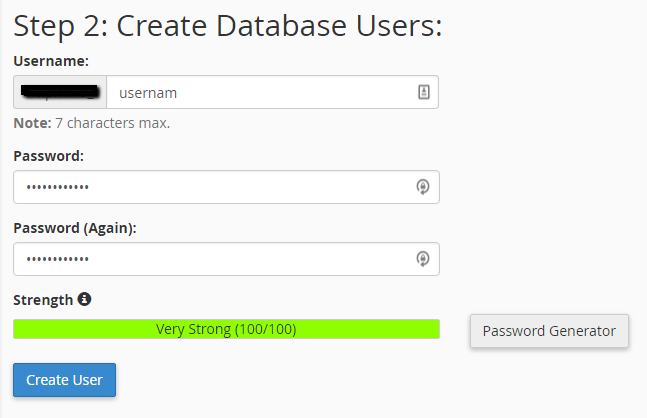
- Click “Create User”
- Click “ALL PRIVILEGES” and click “Next Step”
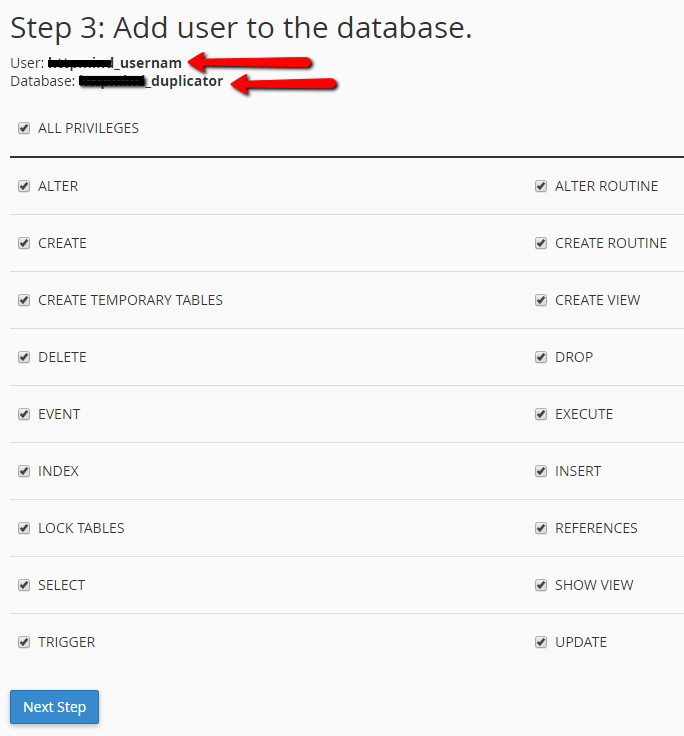
- Copy your full username and password and add them to your notepad file (image above)
- Click “Return to mySQL databases”
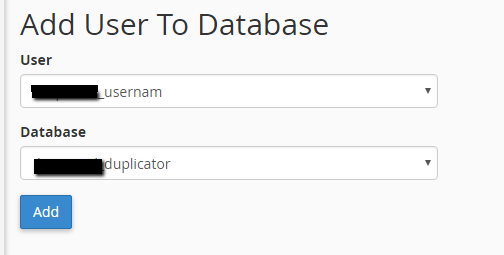
- Add user to database: click “Add”
- Click “Go back home”
- At the top of the page you should see this:
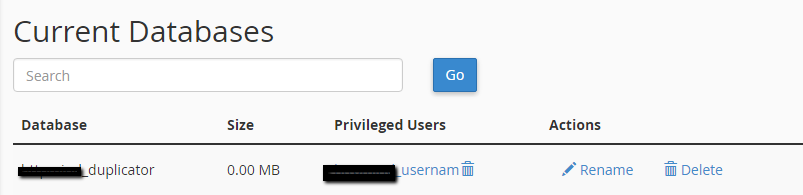
Your database and user are correctly linked.
Now that we have successfully signed up for a hosting company and created a first database, we can start migrating our WordPress site.
4. Migrate Wordpress to a new Hosting Company
There are many WordPress migration plugins out there, the most common one is Duplicator. Migration plugins are essentially backup plugins that have the ability to migrate the backup you created with them.
- Download Duplicator and install it on your WordPress site (see reference to learn how to install a WordPress plugin)
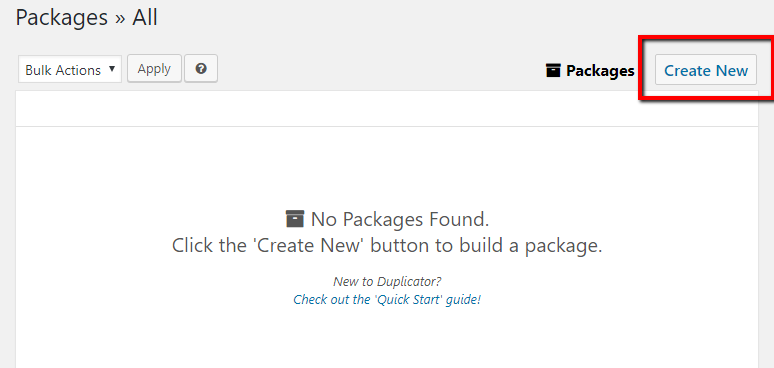
- Click on the new “Duplicator” link in the navigation and click the “Create New” button on the top right – see image
- Click the “installer” tab on the new page
- Add the appropriate information in the “host”, “database” and “user” areas (you usually don’t need to add “host port”). This is the database information that you created on your host when you first signed up.
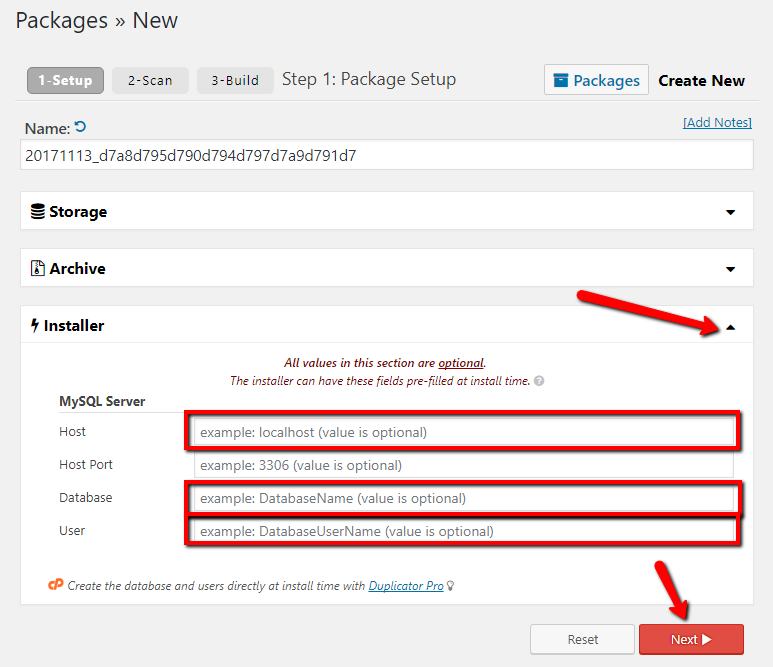
- Click “Next”
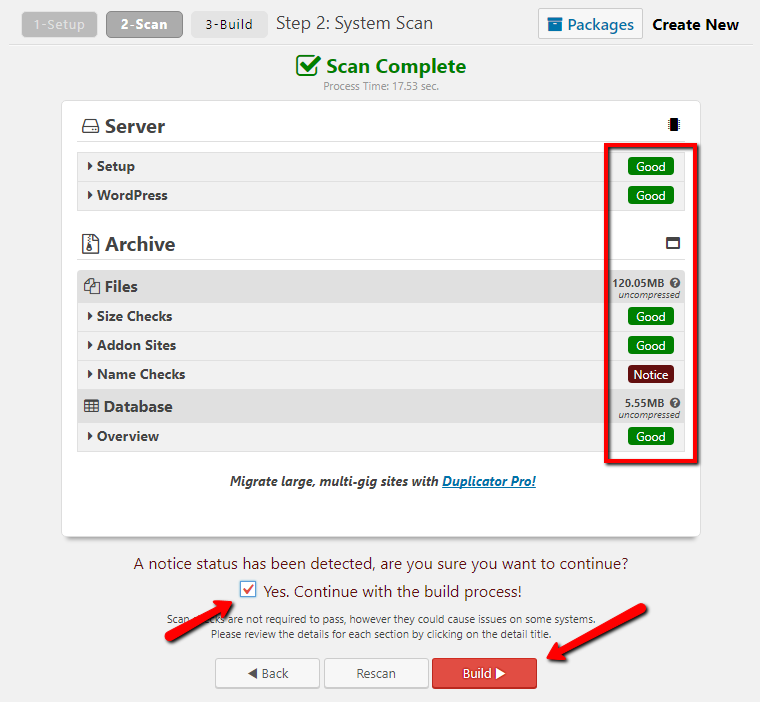
- Once the scan is completed, you get a full report of the results. In general you want to see all green “good” messages, however a “notice” will work fine too. In my example there is an image with non English letters in it. Just click the checkbox to confirm and click “Build”
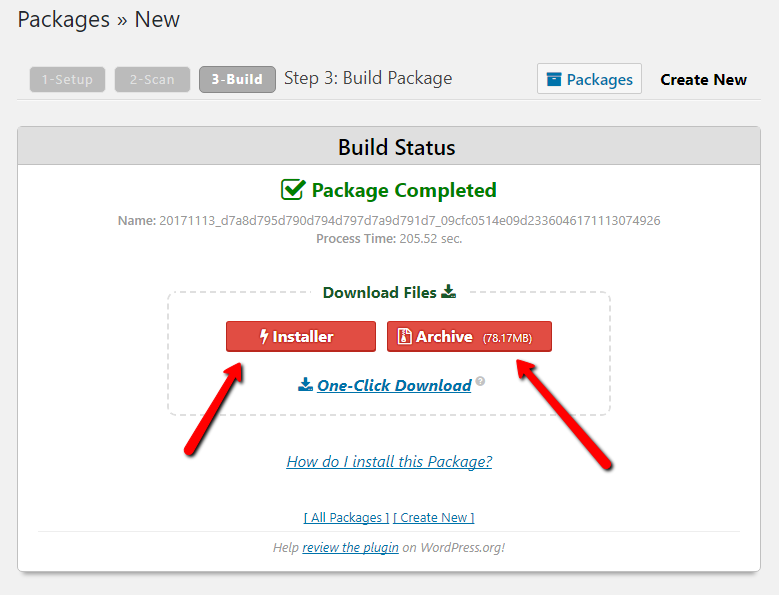
- At this point your backup is ready, just click and download the “Installer” and “Archive” files
- Next, open your FTP and connect to your host. We recommend using “Filezilla“, however, any FTP that will upload your files is fine.
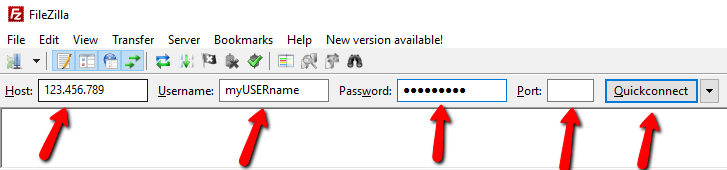
- Add the information you got from your host as shown in the image above (you might need a port but not necessarily) and click “Quickconnect”
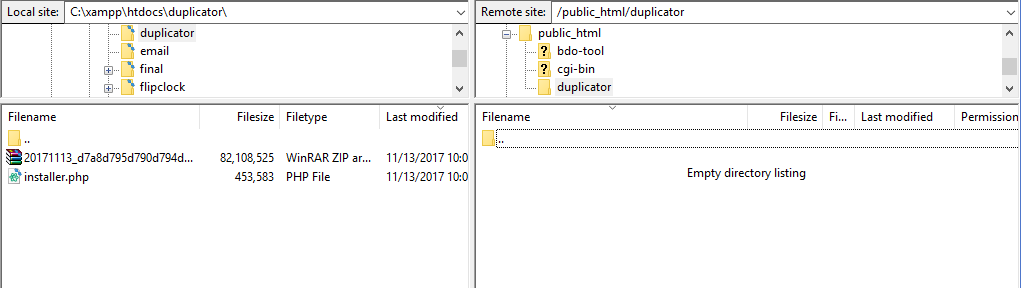
- On the right side, click on “public_html”, on the right side add the path of your “Duplicator” files. If you want to put your WordPress site in a sub directory, just create one after going into “public_html”.
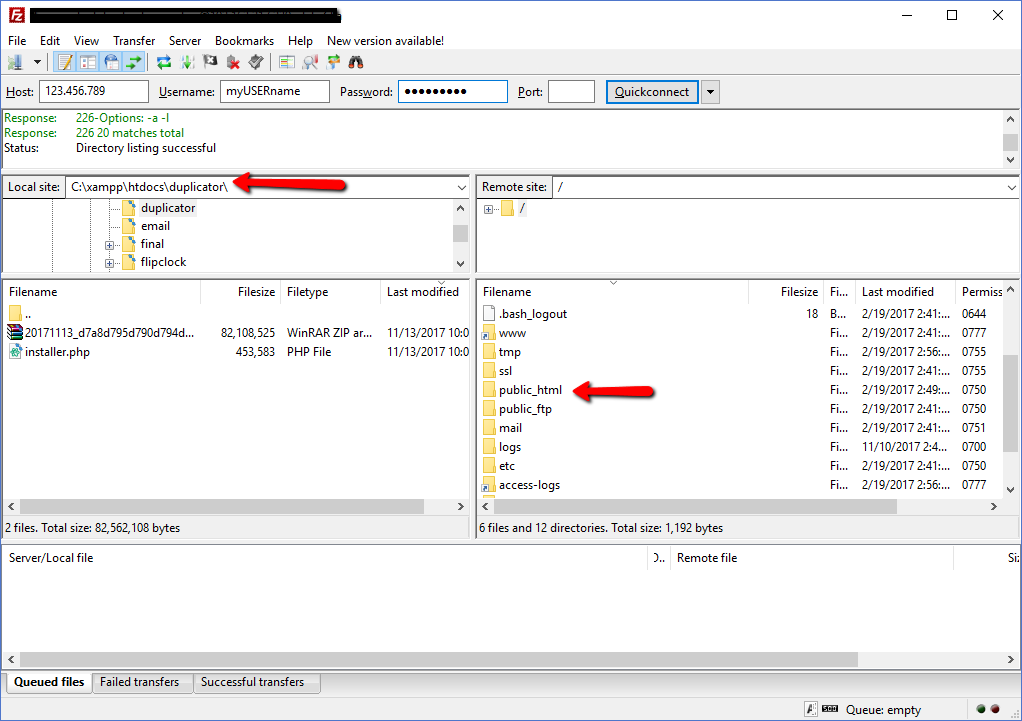
- Eventually you should have an empty directory on the right. In my example, I created a folder called “duplicator”
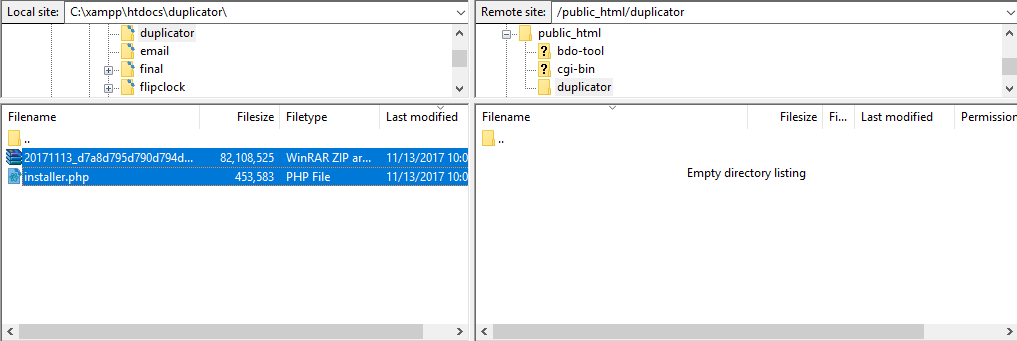
- Click both files on the left while holding “control” (or “shift”) and then hit “Enter”
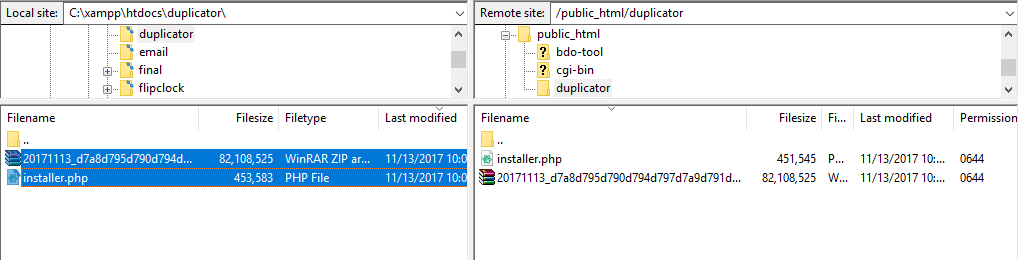
Once the files have transferred (this can take a while), navigate your browser to the URL you added the “Duplicator” files to and you should see something like this:
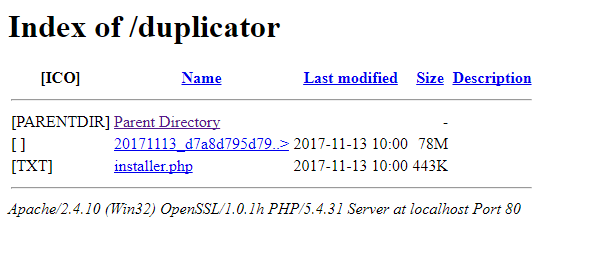
- Now click the “
installer.php” link and you will see something like this:
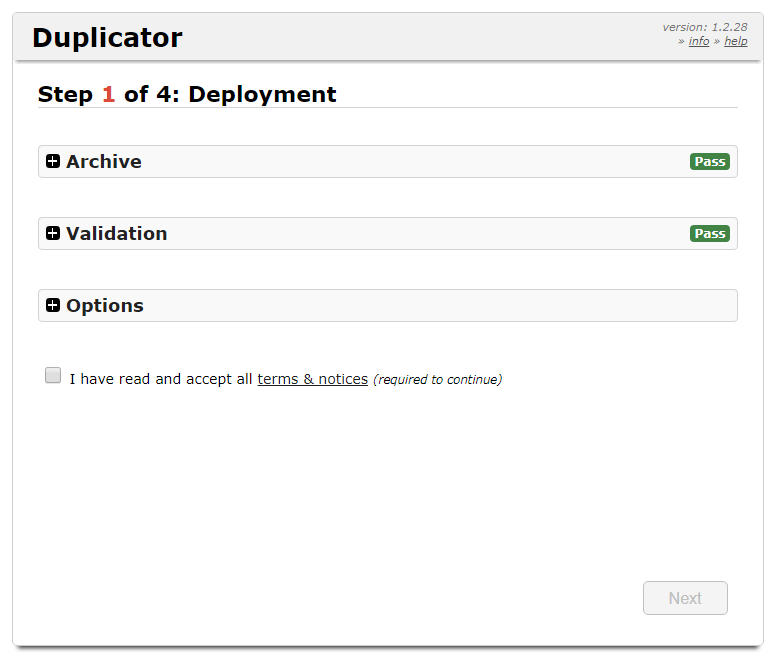
- Check the checkbox and click the “Next” button
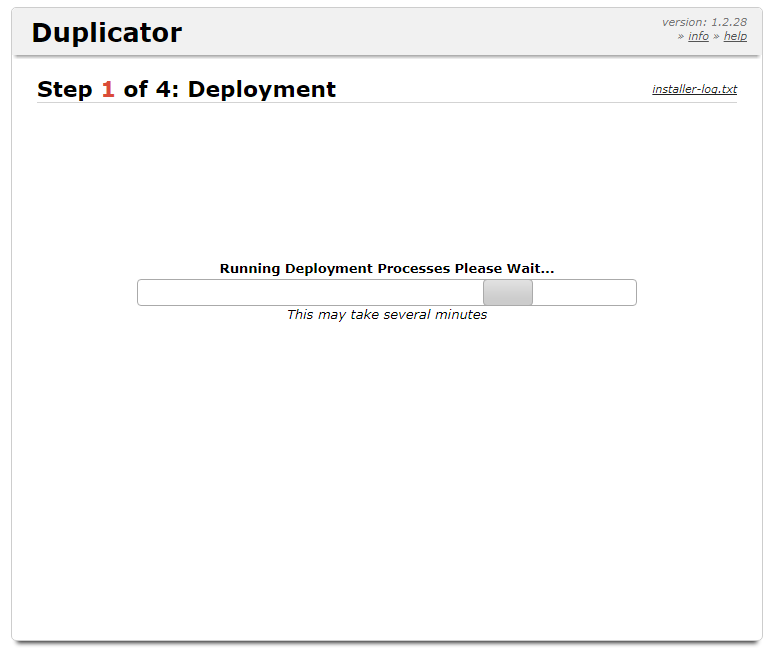
- Now the migration is kicking in. This can take a few minutes so don’t stress it…
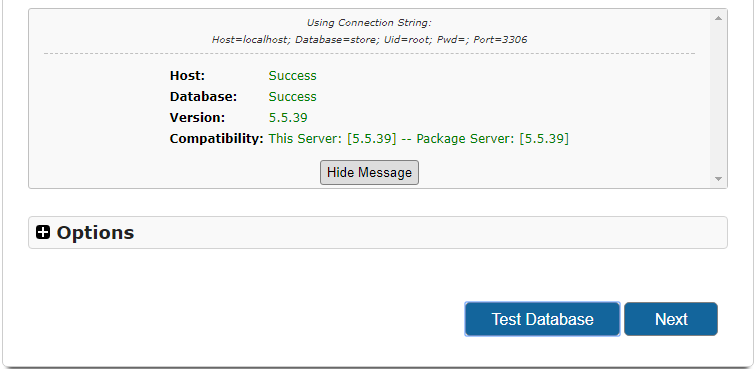
- Once the files are all extracted, it’s the database’s turn. Add your host, username and database name in the correct places and click “Test Database”
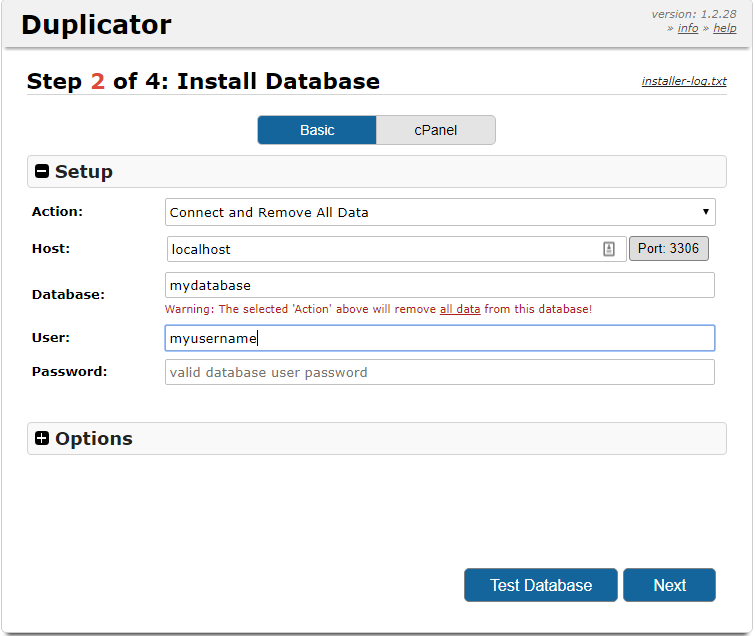
- Assuming your connection test went well, click “Next”
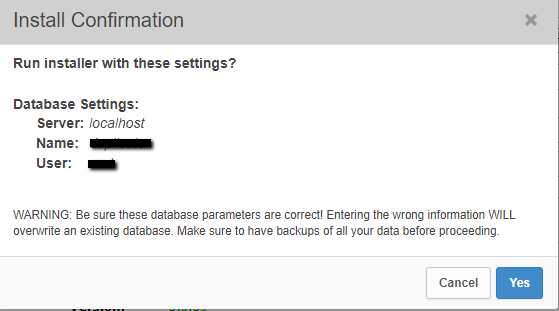
- Final warning. Click “Yes”
- Now Duplicator shows you your previous and new URL structure and some settings, and gives you the ability to change some of them. If everything is fine, click “Next”

That’s it! if you see this message – you finished successfully!
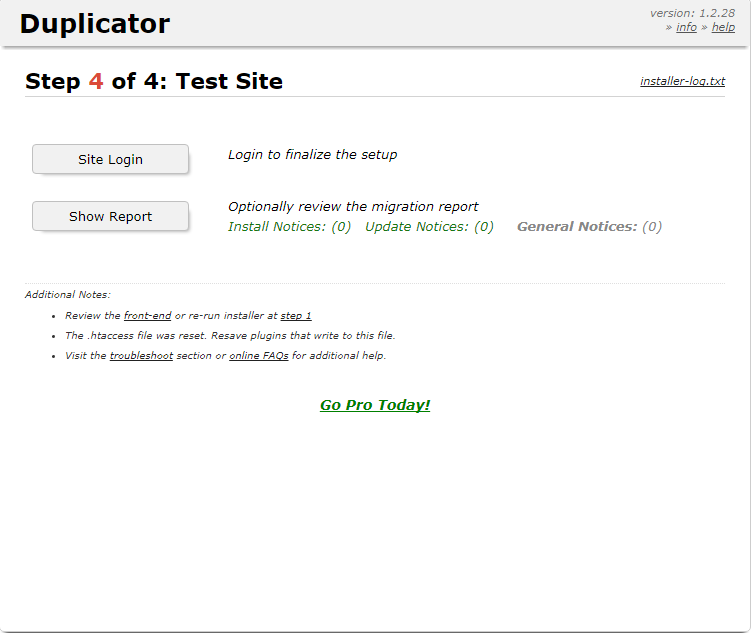
Now you can login with the same user and password as on the previous host.
We are down to the last stage of transferring your WordPress site – pointing your domain to the right place.
5. Point Your Domain to Your New Host
- Go to the registrar where you purchased your existing domain
- Choose the DNS settings
- Change your existing nameservers to the ones you saved in your notepad file (you can choose to point to the IP using A record)
Migrate from WordPress
Another option to move to a new “host” with no downtime, is if you actually migrate to another CMS. For example, if you decide to migrate from WordPress to Shopify, there are tools that can help you with the process.
Once you are done with the migration you point the DNS as described above, and the result of that is migrating with no downtime.
Conclusion
Assuming you followed this entire tutorial, you should now have transferred your WordPress website from your old host to a new one with no downtime. If you had a locally built WordPress site, you should by now have a live site. If you have any questions feel free to comment.
Related Posts


 Website Maintenance – Use Promocode: scanwp
  Advanced JetPlugins for Elementor
  Semrush 14 days trial
  Kinsta – Managed WordPress Hosting
  Bluehost Hosting