A Tour of /wp-admin/ – the WordPress Admin Area
Last modified: January 13, 2020

For those of you that haven’t used the backend of a WordPress website before, this post is an excellent introduction for you. We are going to go through a clean WordPress installation and go through everything you need to know.
For the purpose of this post, we’re going to create a dummy website on a local server. For help doing that, read how to create a WordPress site on XAMPP. Assuming you followed the steps properly, you should already have a username and a password.
* This button will show the rest of the post and open up an offer from a vendor
Wordpress Admin
Next, navigate to your Website URL in your browser and add /wp-admin/ at the end of it. This is what you should see:

As you can see, this is the dashboard and it’s broken up into several areas just like any other page within the admin area.
First of all, the top bar will always be visible, even on the front end (unless you disable that). Within the admin bar you can use the “new” button to add new posts, new pages, new media, new user etc.
The main navigation is on the left side and consists of basically anything that you need in your WordPress site.
The main section in a newly created site doesn’t help us out too much but after you have some plugins installed, you can usually see summaries and important information here. With that said, notice the “At a glance” area. That section shows us how many posts, pages and comments we have. Sites that have special post types will see those here too. Feel free to dismiss the “welcome to WordPress” section at the top.
Wordpress Updates
Next, under the “home” button which is underneath the “dashboard” button, you will see a “updates” link. Click it.
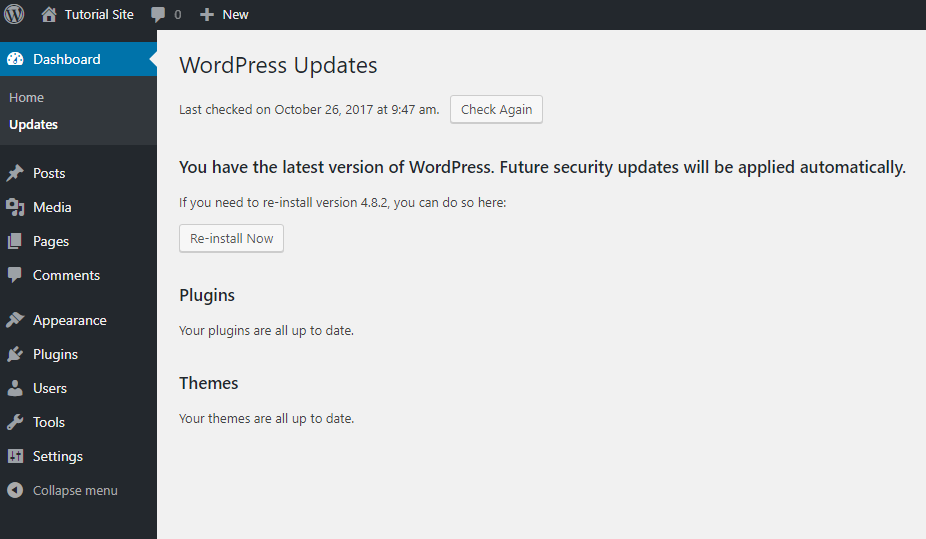
In this case you shouldn’t have any updates available since we just installed the site. After a while you will see a list of updates available in 3 sections:
- WordPress core update
- Plugin updates
- Theme updates
Wordpress Posts
Next, click on the main “posts” link below which will take you to the “All posts” page.
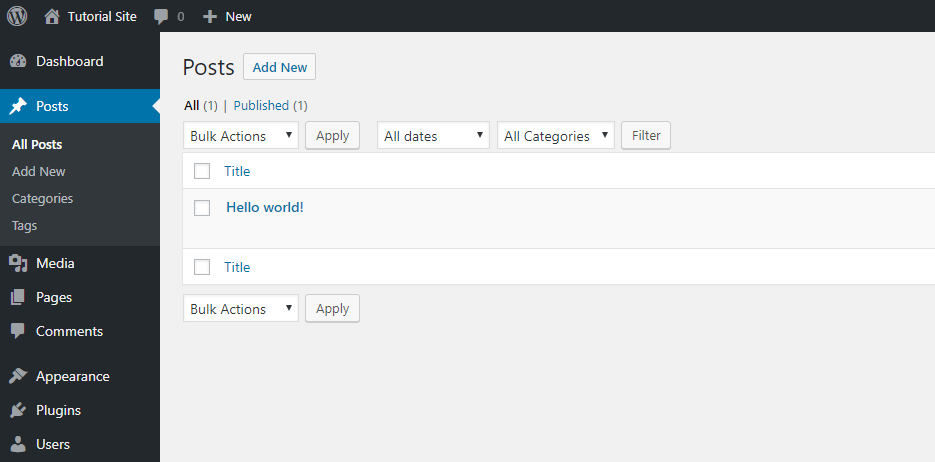
Currently, we only have 1 default post which comes with every installation. Once you start going, all your posts will appear here. This page has some filtering functionalities too, so if you need to find a post you wrote in a certain month or in a specific category, you can find it easily using the filter.
Adding a New Wordpress Post
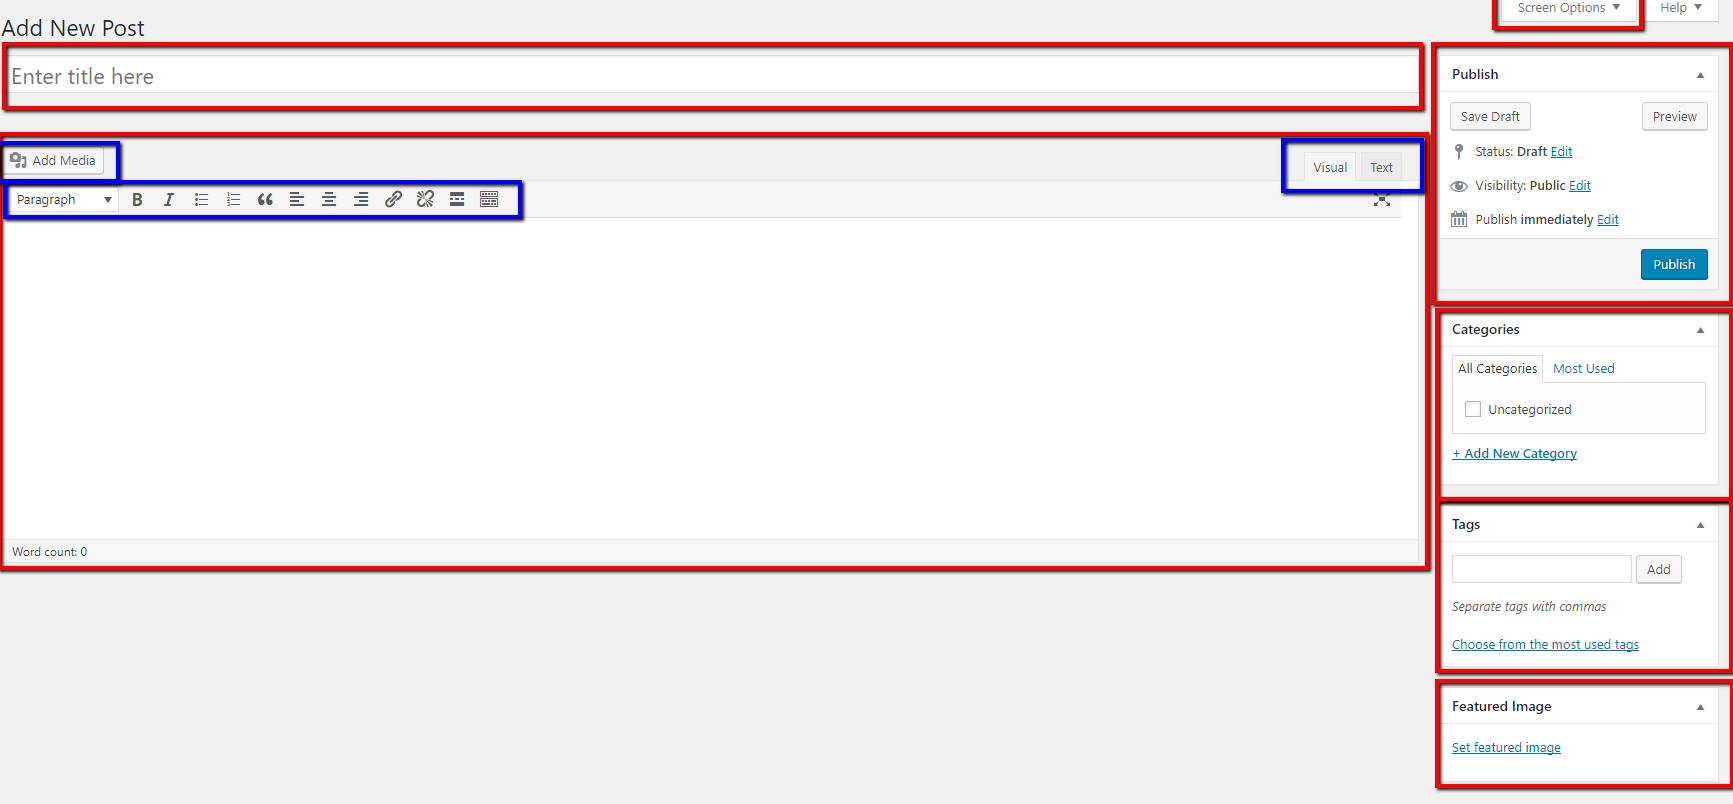
This is where things start getting interesting. Adding a new post in WordPress is really easy, you just need to know what you’re looking at. The page is divided into a few sections so lets go over them:
- Title – where the post title goes.
- Post text – the large box in the middle. This is where you write you entire post.
- Add media – within the post area. Clicking it will enable to open the media and either add a picture from your computer or add one that has been previously added.
- Text Buttons – similar to using “Microsoft Word”. You should be familiar with most of those.
- Text / Visual – the default tab should be on “visual” but in case you want to fiddle around with the HTML that your post created, this is the place.
- Featured Image – this is where you add a featured image. Different themes use them differently but just know that this is where you need to go to add one.
- Tags & Categories – tag your post with relevant information regarding the subject you are writing about.
- Publish – there are a few options here. You could either save as draft and continue later, you can click preview to see what your post will look like, you could unpublish a post or you could change the post date and schedule the post release for whenever you want.
- Screen options – there are several more options that can appear on the page but you usually don’t need them. If for some reason you think that something is missing, click that and see what other options you can open up.
Wordpress Categories
Next up is the “categories” link. Clicking it will give you this page:
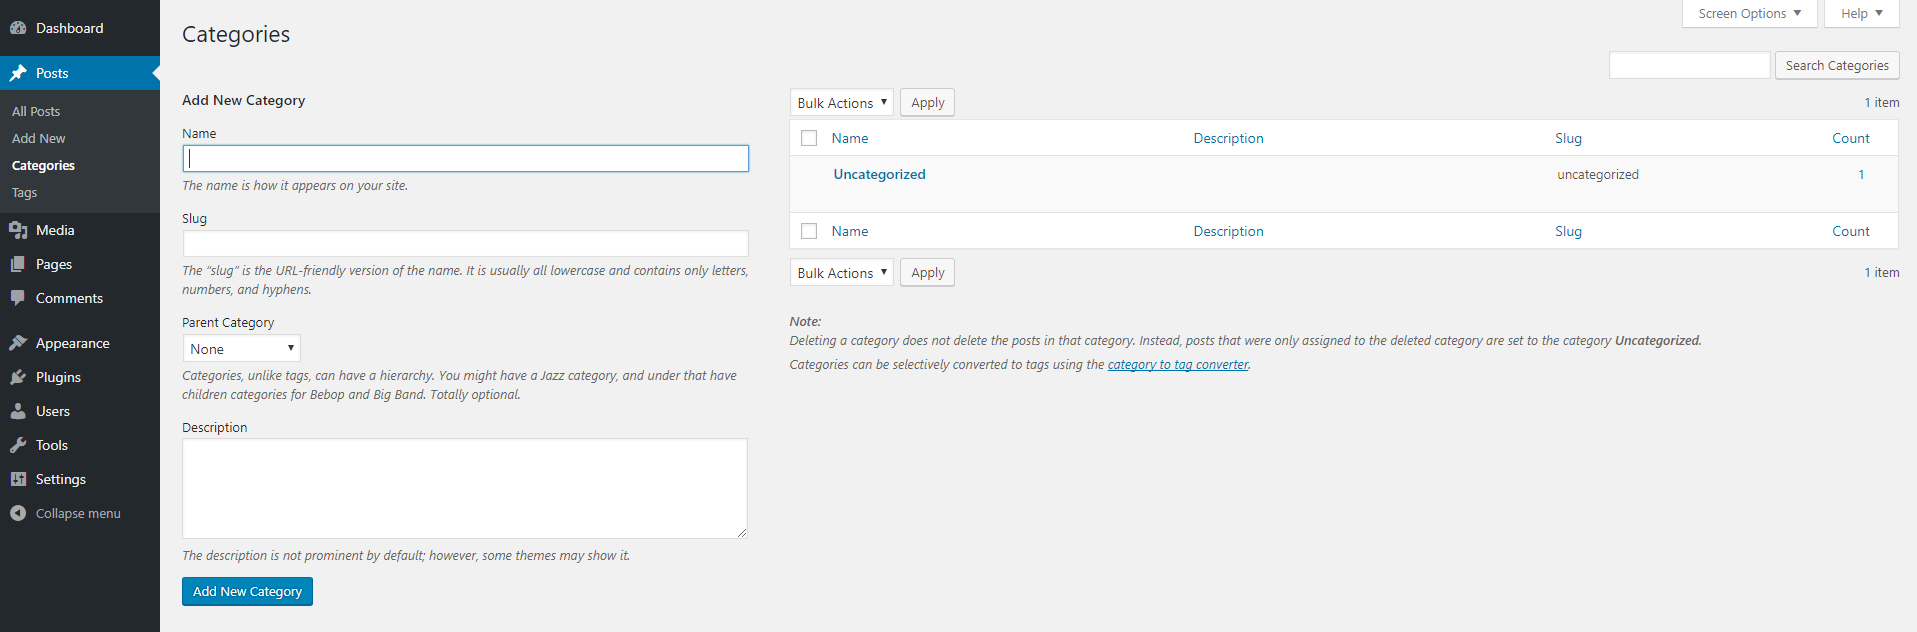
First of all you need to understand the definition. Categories are essentially there in order for us to be able to sort through subjects more easily. You can easily add new categories on the left.
- Add a name.
- You can skip the slug which is the URL, it gets generated automatically.
- Add a parent category if necessary.
- Add a description. Some themes support category description at the top of the category pages.
- Click the “add new category” button.
On the right you can see a list of all the categories you have, their description, slug and how many posts have been written in each category.
Wordpress Tags
The next page on our tour is the “tags” page which looks identical to the “categories” page and works the exact same way. Truth be told, tags and categories work basically the same. They are both taxonomies and it all depends how the theme you use, uses them. Sometimes you will see post pages with “tag clouds” which are keywords that are related to your post subject.
Wordpress Media Library
Our next stop on the tour of the WordPress admin is the media page. Click the link and you should see this:
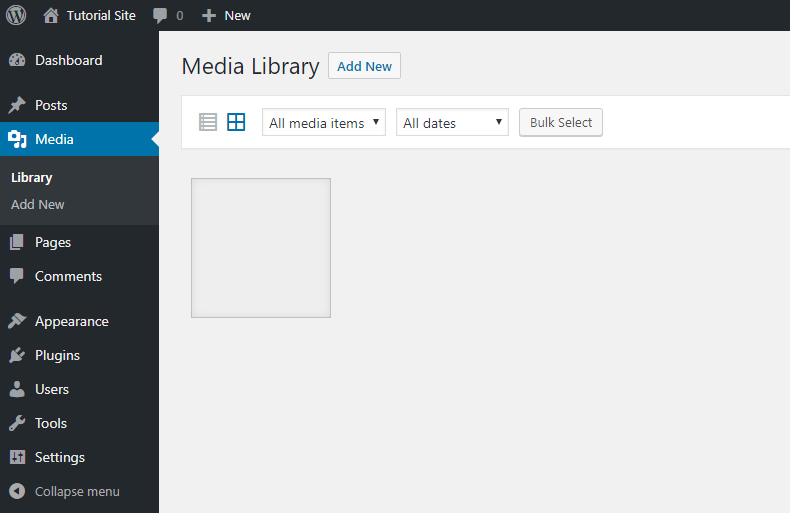
As of now you don’t really have images in the library since this is a new installation. As you see, at the top there’s an “Add New” button which you can click and start adding images. Or, the more sensible approach would be to add images within the posts / pages where you need them displayed. Whichever works for you is fine. The next link in row is the “Add New” which you don’t really need since you have one on the page we are on now and if you really want an easy way to add images, there is the “New” button” in the black bar which we discussed previously, so you can just use that.
Pages
The next page below the Media is the “Pages”, clicking on it will take you to the “All pages” page which looks like this:
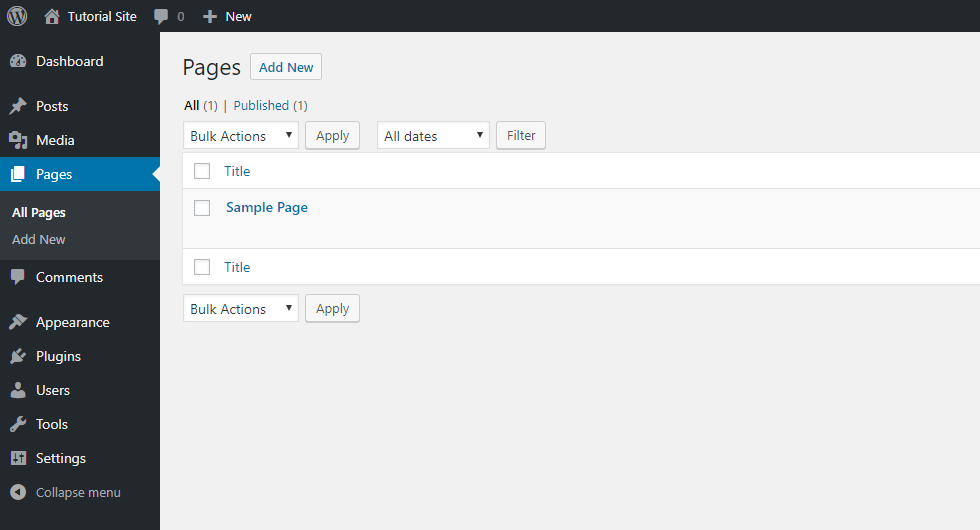
Basically the same exact thing as the “All posts” page, just that this is called “Pages”. There aren’t a whole lot of differences between pages and posts in terms of the way they are built. The difference is the way they are handled. Posts are eventually presented in our blog. Therefor, if you need to build a page that shouldn’t be presented as part of your blog posts should be built as a page. The only way a user could get to a page is if you link to it. Posts however are being pulled in from our main blog page, category pages, tag pages and so on. So, here are some examples for definite pages that should not be built as a post:
- Contact page
- Thank you page
- About us
- Terms of service
I think you’ve got the gist. There is not point in having your “Terms of service” pop up while I’m reading posts about (add your subject here).
You might have realized that just like in the “Media library” page and actually the “posts” too, there is an “Add new” button, which appears also in the navigation and also in the “New” button drop down. Just decide what easiest for you. Personally I use the drop down option. I find it much easier.
On with the tour…
Wordpress Comments
Comments are very popular on WordPress sites. They are placed below the post in order to enable your readers the ability to interact with you about what they just read. In this day and age it’s a great idea to add comments to your posts. Click on the “comments” button in the navigation and you will see this:
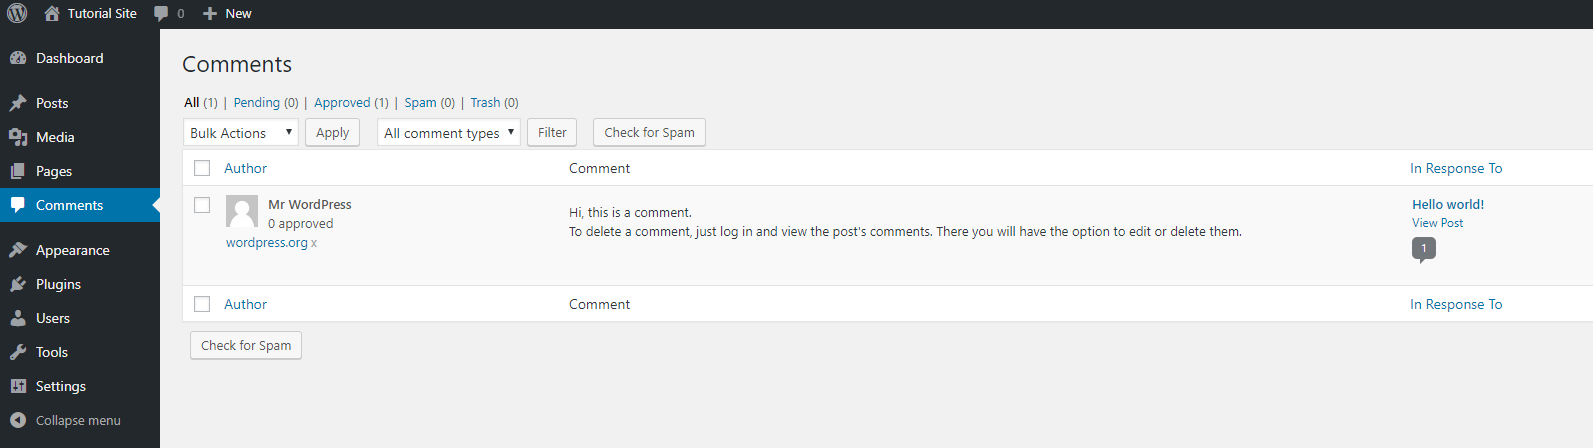
New installations will see the same as in the image above. There is pre-existing comment that you can go ahead and delete. Just hover above the message and you will see all your options:
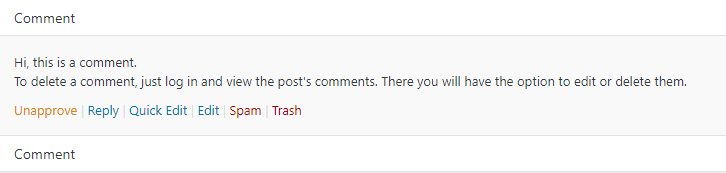
Just click “Trash” to trash it. When you start getting real comments you can approve them here, spam them, edit, unapprove, etc. You could also mark them on the left side checkbox and do all those options in bulk.
Appearance
Our next stop is the “Appearance” area which has several pages within it, so let’s begin.
WordPress Themes:
I hope you already know what a WordPress theme is, but if not you can read out article about What a WordPress theme is right here. This page has a few WordPress official themes that you can choose from. This specific page’s style has changed a whole lot over the years, but currently it looks like this:
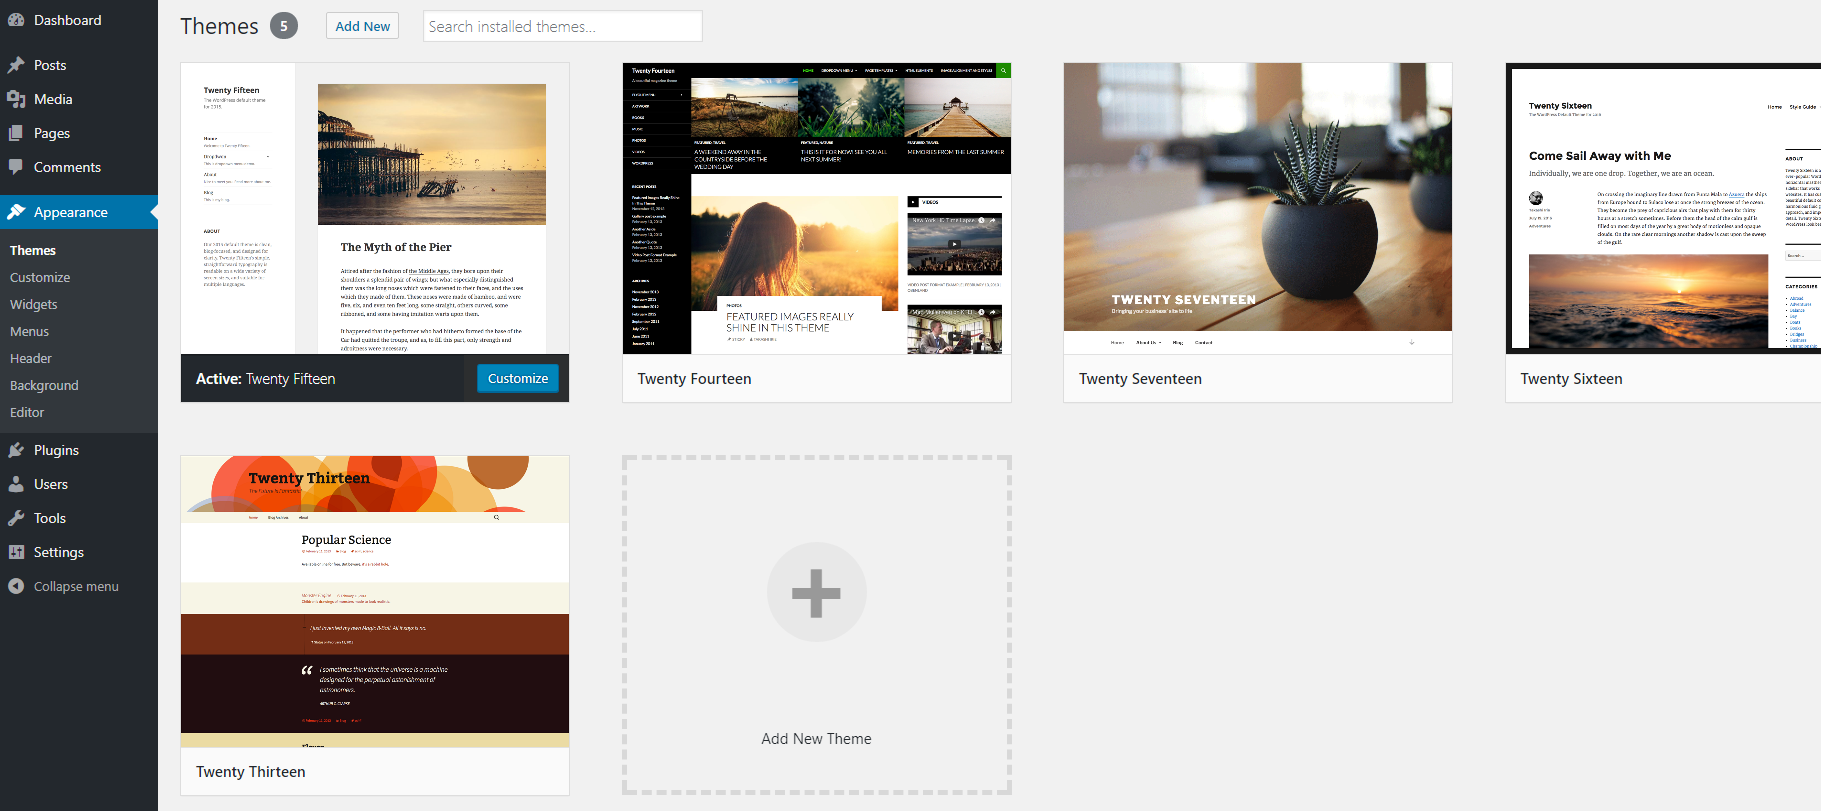
You should see a few themes that WordPress installs for you automatically. You can choose either one of them or you can click on the “Add New Theme” button which will bring you to this page:
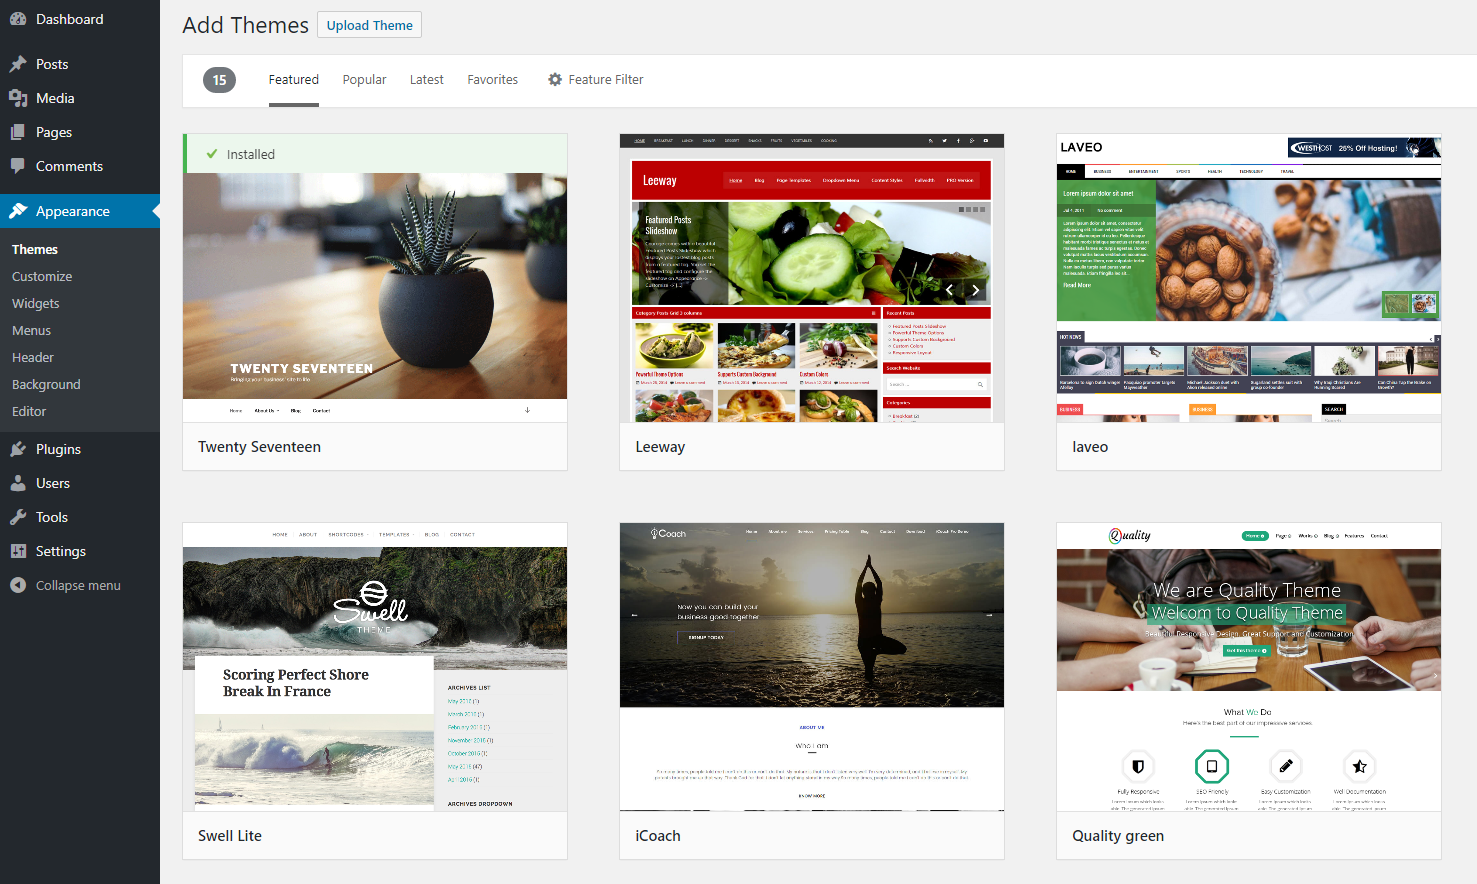
Here you have a few options as well:
- Scroll down through the themes. FYI – these themes are the same ones that appear in the WordPress repository, you have the option to install them for free via your WordPress admin.
- Filter through the themes using the options above
- Search for a specific theme name in the search bar on the right
- Upload a theme from a file on your computer using the “Upload Theme” button.
Regarding the last option. Whenever you buy a WordPress theme from one of the known WordPress vendors such as Themeforest or Elegant Themes, you receive a zip file. This zip file will then be uploaded by clicking the button on option 4 and choosing it from your computer.
On we go…
Customize
WordPress comes with a built-in customization page that gives you several options of things you can customize on your site. Yours should look something like this:
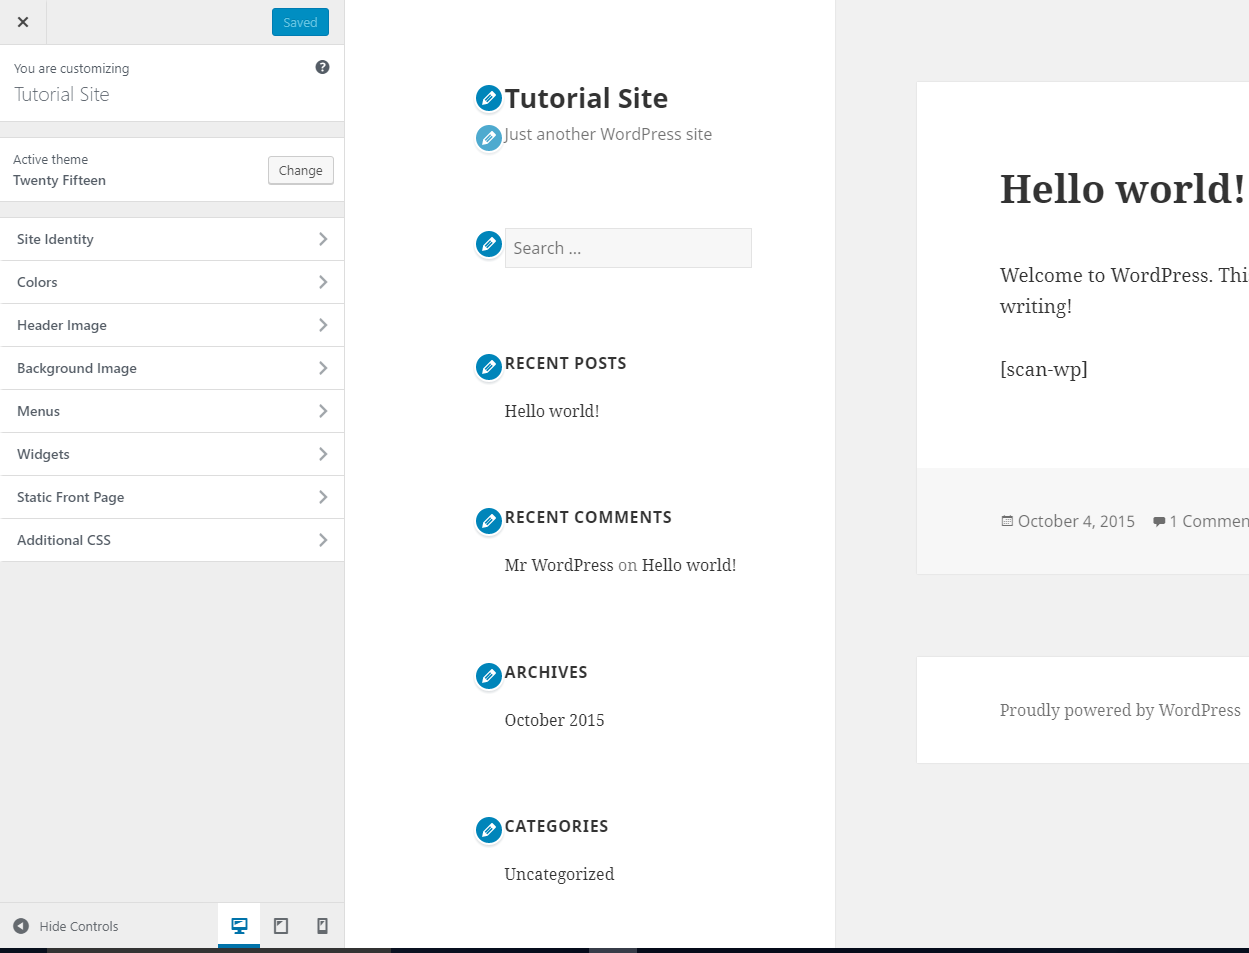
The cool thing here is that it changes things live, without having to refresh the page. So, if you want to play around with your header background color for example, this would be the best way to do it. Just check out the options on the left and change them accordingly.
*If you are wondering what the [scan-wp] is on the right side is, I was playing around with our very own Theme detector plugin. That’s what it looks like on the backend.
Wordpress Widgets
Widgets are set areas that we can add extra content to. This can be a contact form, a list of links, an image, an ad, contact information, etc.
The widget page will look something like this:
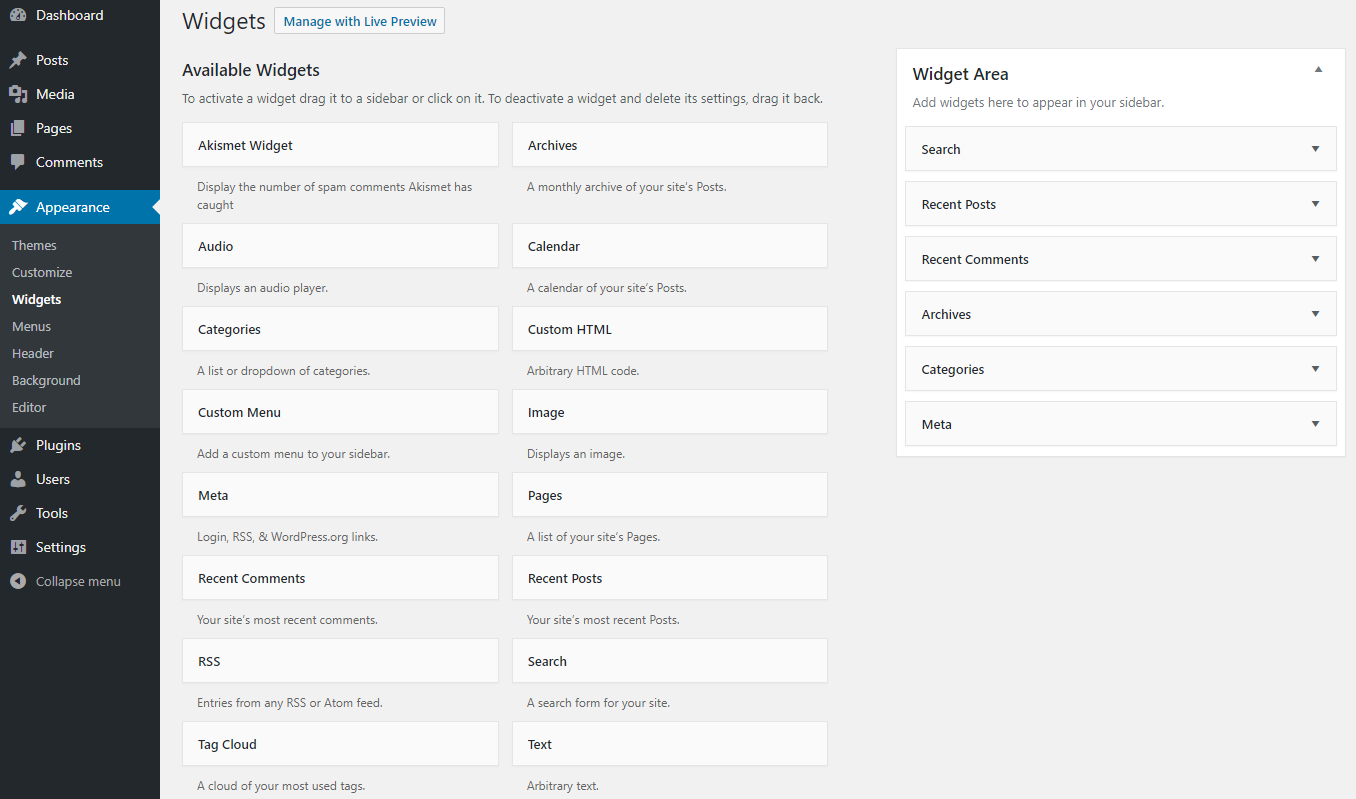
As you can see, there are more than enough options that come built in with your default installation. On my theme there is one widget area, so I can just drag and drop as many items into the widget area as I want. Though, every theme is different but in general that’s the way it works.
Wordpress Menus
Next is the menu page. When you just install, your page should look like this:
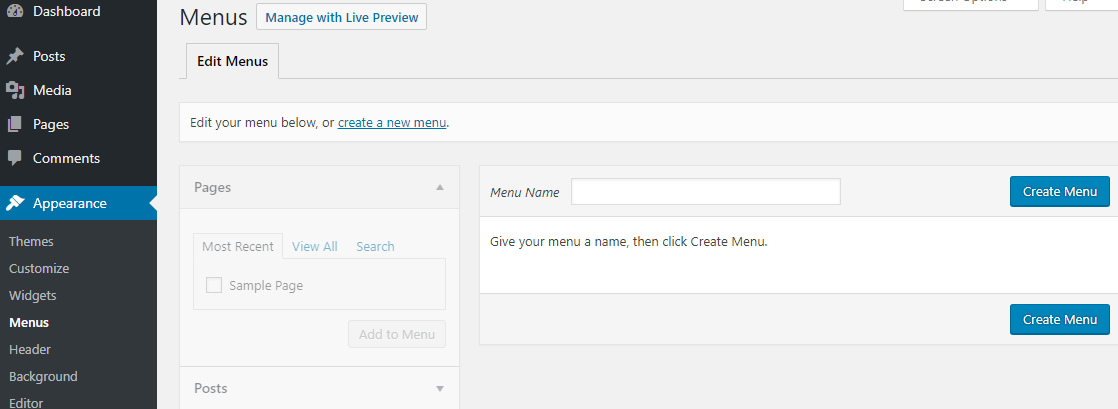
All you need to do is this:
- Create new pages
- Click “create a new menu”
- Check the appropriate page name on the left and click “Add to menu”
You menu is officially live!
Note: in the images here you can see a “header” and “Background” link below the “menus”, this comes from the specific theme and is not a WordPress default, which is why we are going to disregard them at this point.
Editor
The editor is where you can see all the files within each theme you have installed in your site. This is what you should see:
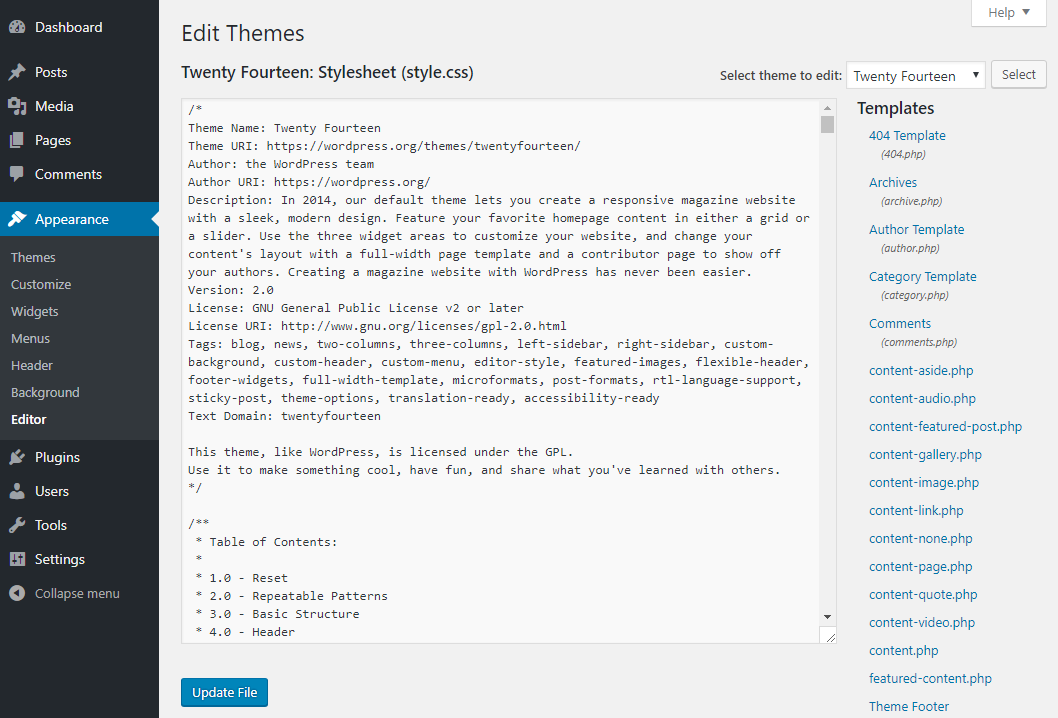
On the right you can choose a file, on the left you can see its contents, edit of necessary and click update.
Tip: If you are not a developer – do not touch this area! If you ARE a developer – use an FTP. There is close to no reason to ever use this page.
We continue…
Wordpress Plugins
I’m assuming you have some idea about what WordPress plugins are, if not – read our post about what a WordPress plugin is. Click on the “Plugins” link and the page you see should look like this:
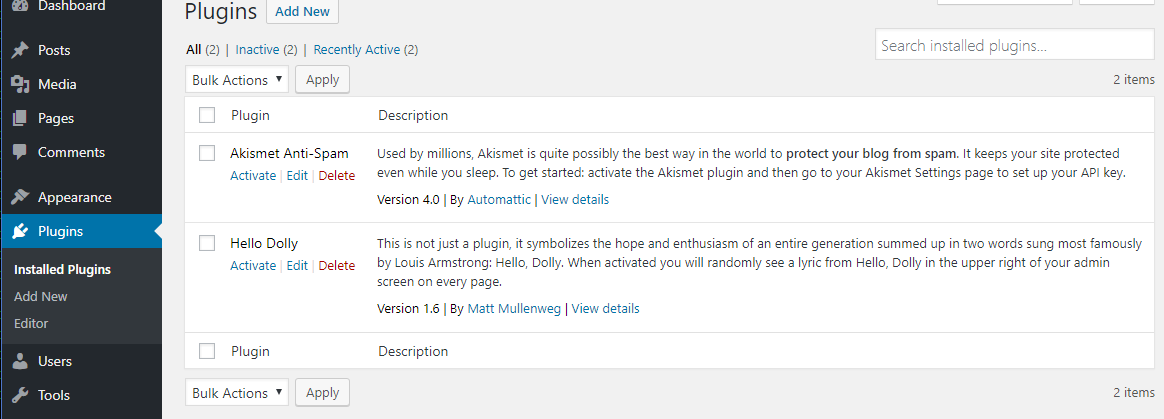
You should have 2 pre-installed plugins – “Akismet” which is an anti-spam plugin developed by Automatic, the creators of WordPress, and “Hello Dolly” which literally no one uses but it just comes built in any way. Once you have more plugins installed, you will see them here. Adding a plugin is very simple.
Click on the “Add new” button and you should see the plugin page which should look something like this:
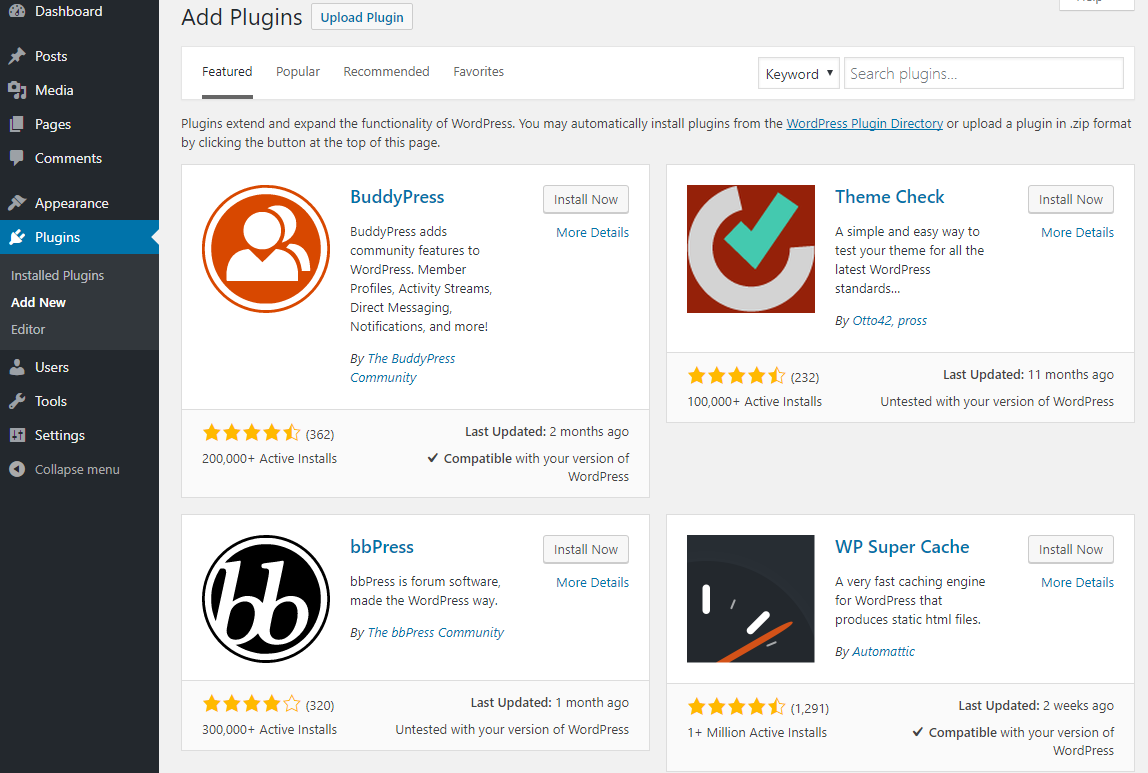
This page works exactly like adding a new theme. You have 4 options:
- Scroll down through the plugins. Just like above, these themes are the same ones that appear in the WordPress repository, you have the option to install them for free via your WordPress admin.
- Filter through the plugins using the options above
- Search for a specific plugin name in the search bar on the right
- Upload a plugin from a file on your computer using the “Upload Plugin” button.
Just like before – when buying plugins, they come in Zip files, which will then be uploaded with the upload button at the top of the page.
Plugin Editor
The last option within the “plugin” are is the editor, this is what you should see:
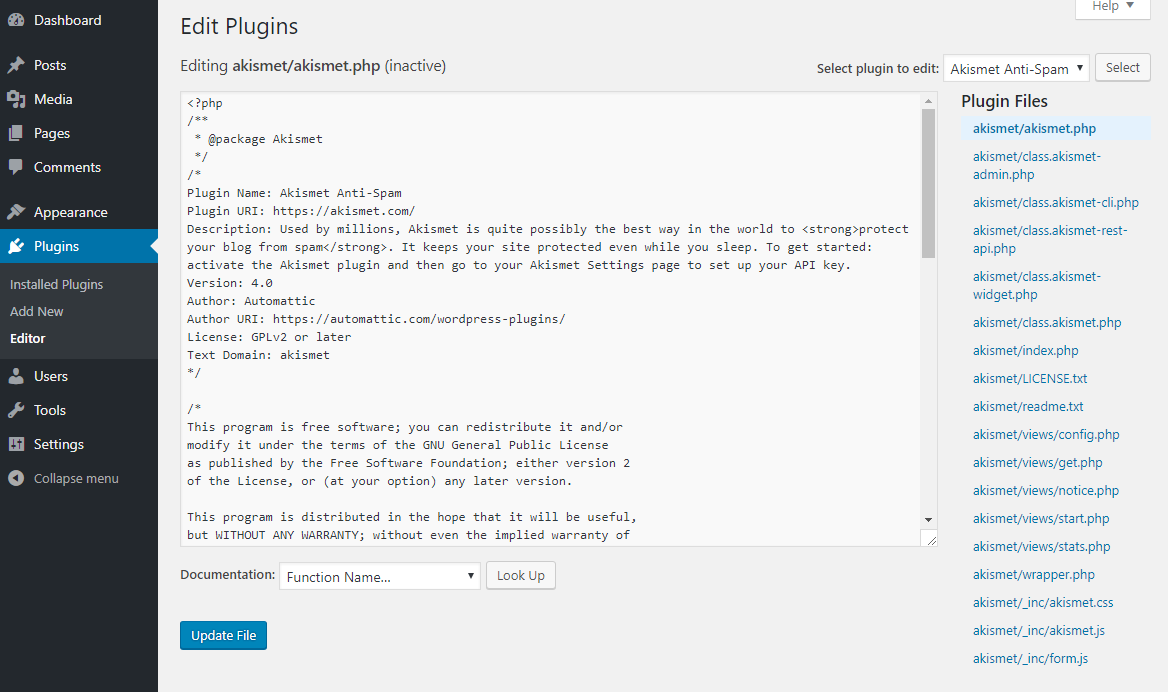
As mentioned before, there is literally almost no reason to use this page. The best advice you can get is to steer away from these pages.
Wordpress Users
The users page should look something like this:
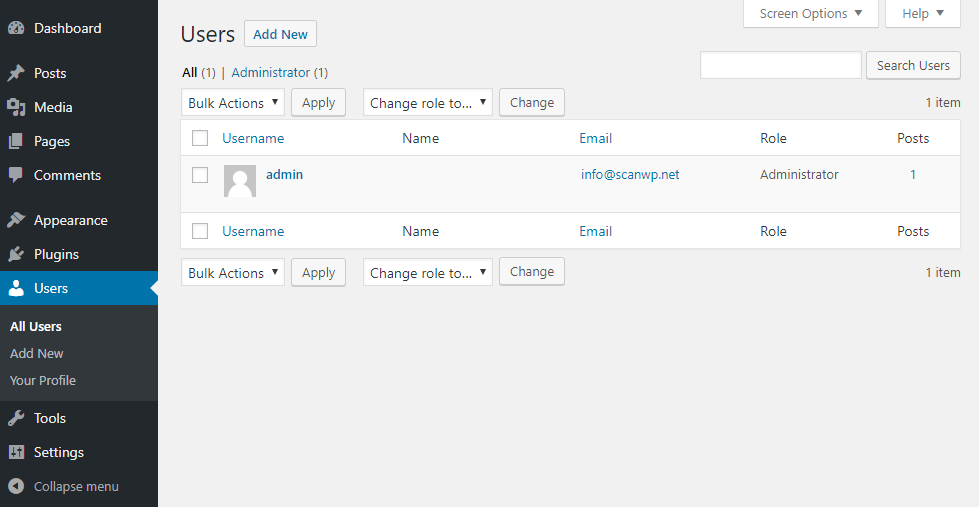
You will see a list (if you have more than 1) of all your users, you can navigate though them etc.
You can click on the “add new” button in order to add another user for your site, which will take you to this page:
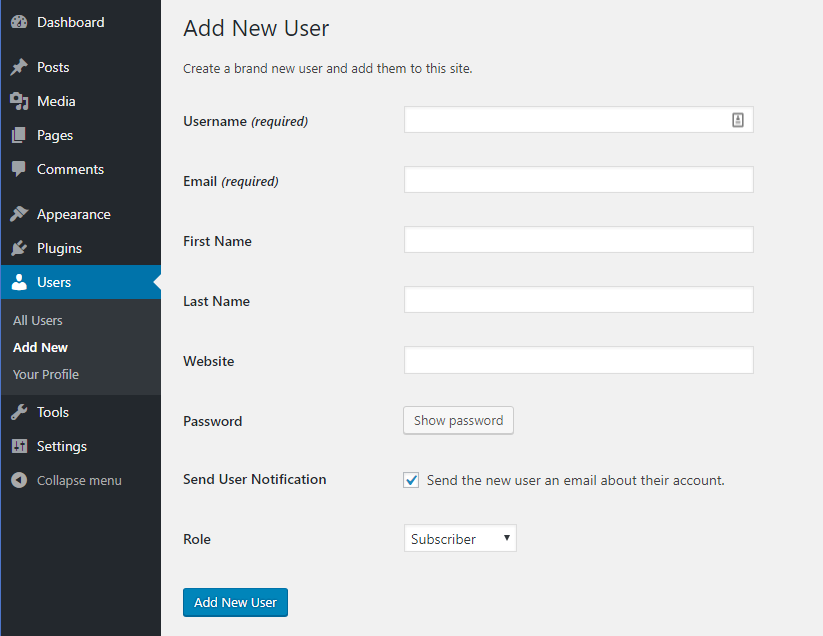
Pretty simple. Just add the desired info, choose which kind of role you want to grant your user and save.
Last but not least in the users area is the “Your profile” page which looks like this:
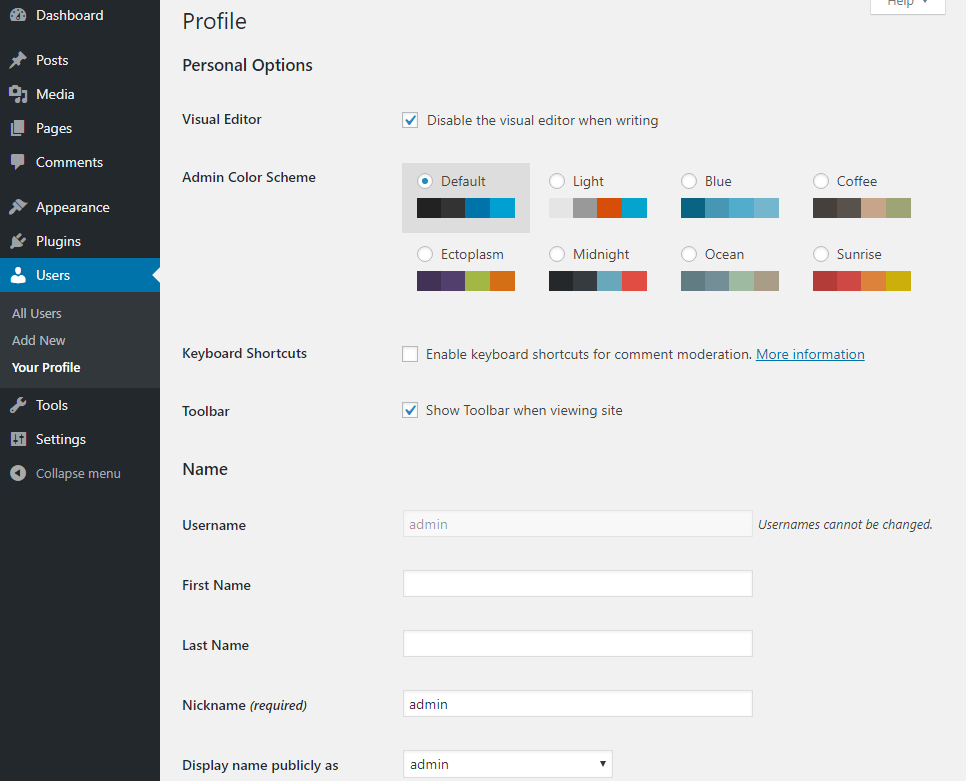
There are a few interesting options here:
- Disable the visual editor
- Change the admin color scheme which can be a breeze of fresh air.
- Uncheck the toolbar checkbox to disable seeing the black bar when logged in and viewing the frontend of the site.
- Change user info
- Add a profile picture
Tools
I’m going to rush through this page since it’s not used as much.
There are 2 options here:
- Import
- Export
The first option enables you to import posts from a pre-existing blog. Click the link for the entire list.
The second option gives you the option to export all of your posts, pages, media etc. if you should need to do so.
And we’re up to the last section… The settings.
Settings
This is what the main settings page looks like:
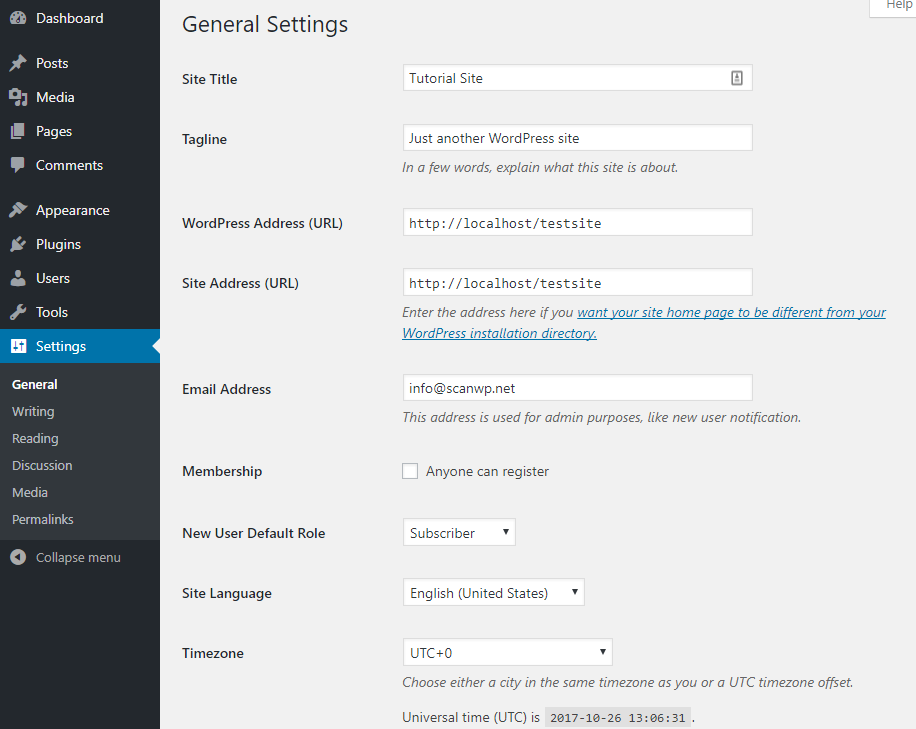
Most of the main information that can be changed, is done her. Including:
- Site title
- Tagline
- Site address (Don’t touch that unless you know what you’re doing)
- Email address
- Registration ability
- Site language
- Timezone
- Date format
The next page is “Writing” which you most probably will never use, we can skip that.
Reading
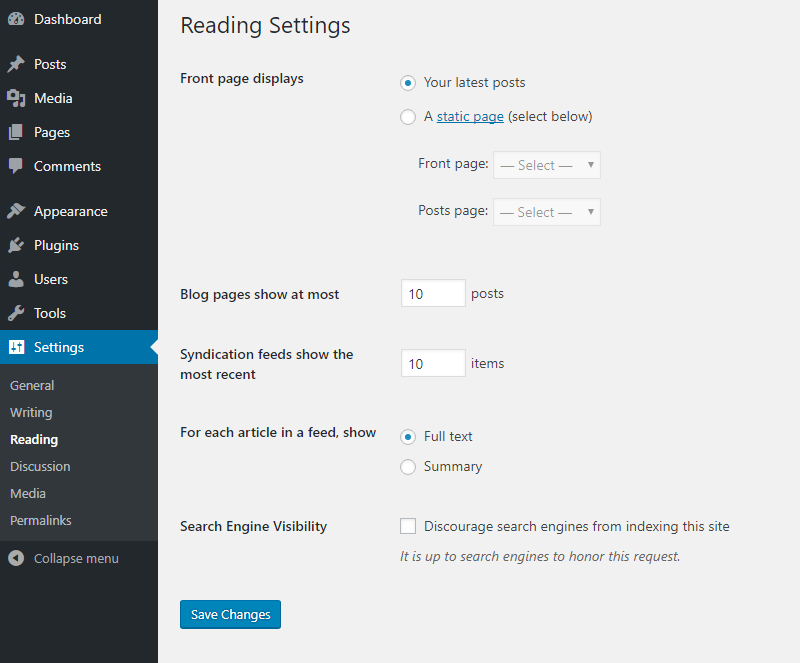
This page is important. First of all, choose what will be shown on the front page. Choose a static page if you don’t want a blog looking homepage. Choose how many posts will be visible at most, same for syndication feeds, choose if the blog page should show each posts’s full text or just a summary, and last – check the last option if you’re not ready to go live yet. Since we are on a local server – this doesn’t matter.
Discussion
The “Discussion” page has lots of options regarding commenting:
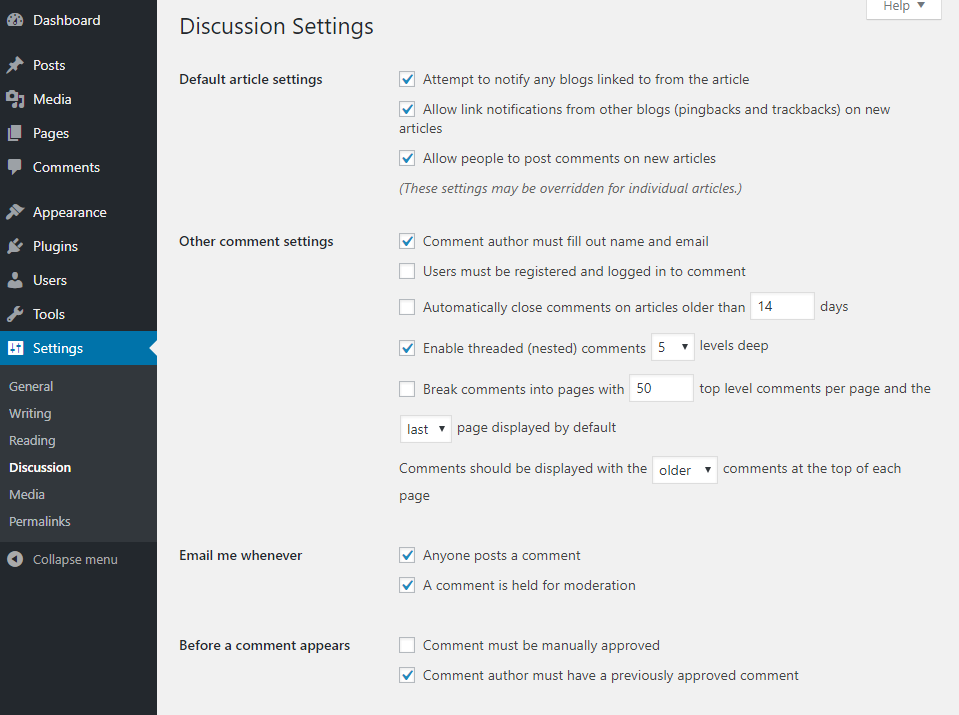
Play around with these until you get them right. There is no “correct way” each site and admin need different things.
Media Settings
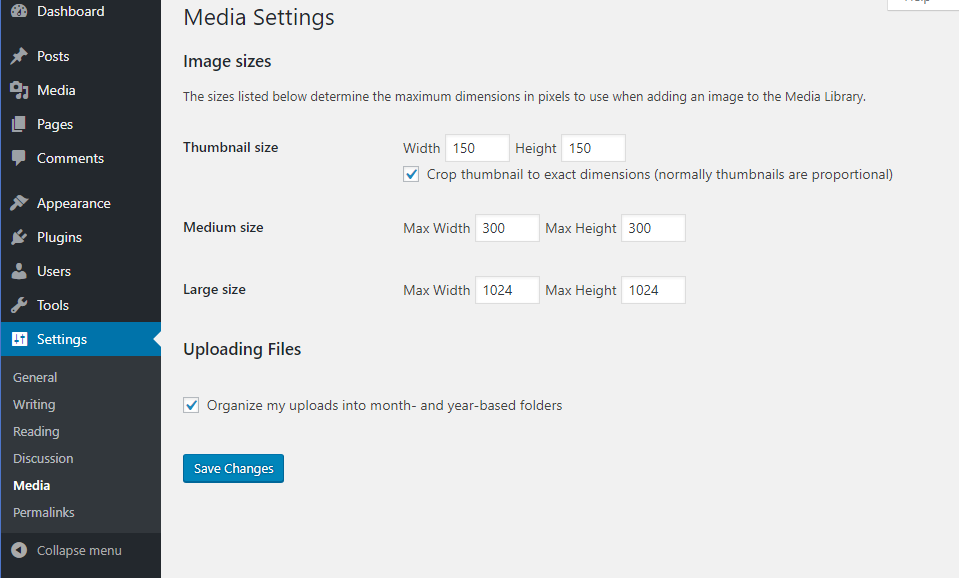
This area is not necessarily a page you will need, but just in case the need arises: you can choose the image upload sizes and if you don’t want your files organized by month and year for some reason, you can change that here.
Permalinks Settings
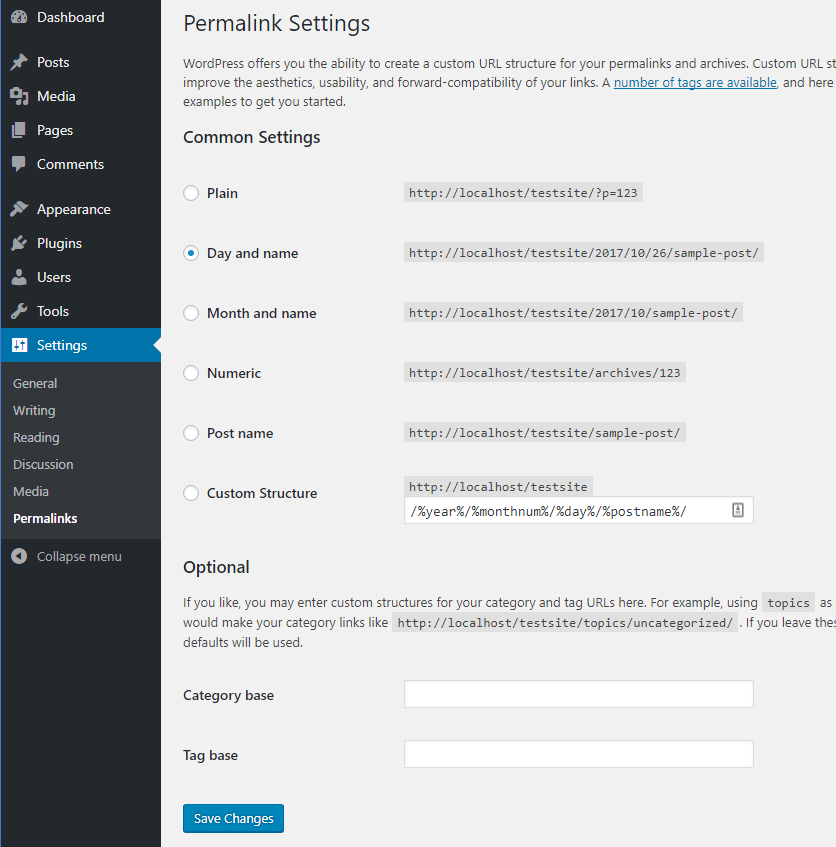
The “permalinks” page is really important. Here you choose how your URLs will be built. In general you should choose “Post name” which is more user friendly and SEO friendly as well. There really isn’t any reason to use any other option. Possibly “Month and name” if the date is important to you. You could also change the default taxonomy names instead of “category” and “tag”, they can be altered to whatever you want.
Recap
So, that basically do es it. We went through every single default page that comes within your default WordPress installation. When you start installing new themes and plugins, you will see that you will be getting some new pages that we didn’t discuss, though there is no way to go through each plugin and theme out there, so this will have to do.
Hope this helped you.
- Wordpress Admin
- Wordpress Updates
- Wordpress Posts
- Adding a New Wordpress Post
- Wordpress Categories
- Wordpress Tags
- Wordpress Media Library
- Pages
- Wordpress Comments
- Appearance
- Wordpress Widgets
- Wordpress Menus
- Editor
- Wordpress Plugins
- Plugin Editor
- Wordpress Users
- Tools
- Settings
- Reading
- Discussion
- Media Settings
- Permalinks Settings
- Conclusion
Related Posts

 Website Maintenance – Use Promocode: scanwp
  Advanced JetPlugins for Elementor
  Semrush 14 days trial
  Kinsta – Managed WordPress Hosting
  Bluehost Hosting